If you’re selling anything online, from handmade crafts to high-end electronics, your product photography should speak louder than words. In 2025, with e-commerce and social media booming, eye-catching visuals aren’t just nice to have—they’re non-negotiable.
Product photography is the art of capturing images of products in a way highlights their features and appeals to customers. Over the years, it has evolved from simple white background shots to full-blown studio setups and lifestyle scenes.
In today’s digital age, where users shop through smartphones and judge brands by their visuals, investing in good product photography builds trust, improves engagement, and boosts sales.
What is Product Photography?
Product photography is a type of commercial photography that focuses on capturing high-quality images of products for marketing, advertising, and e-commerce purposes. It involves photographing physical items in a way that accurately represents them and makes them appealing to potential buyers.
Imagine a business selling handmade candles. With product photography, they can:
- Show the candle in detail with a white background (for Amazon).
- Display the candle lit on a cozy table setting (for Instagram).
- Create close-up shots of the label and texture (for the website).
Why Product Photography Matters More Than Ever
- Boosts Sales & Builds Trust: According to a 2025 report from Statista, 87% of online buyers say product images are the most influential factor in their buying decision.
- Conversions Skyrocket with Quality Images: Brands using professional images saw up to a 30% increase in conversions compared to those using low-res or stock images.
- Impact on Mobile Shoppers: With over 70% of online shopping happening via smartphones, product photos must be optimized for small screens.
Visual Tip: Use multiple angles and close-ups to help users feel more confident in what they’re buying.
Choosing the Right Product Photography Setup
Setting up your own product photography studio doesn’t need to break the bank. Whether you’re a beginner or seasoned creator, here are the essentials:
- Camera Options:
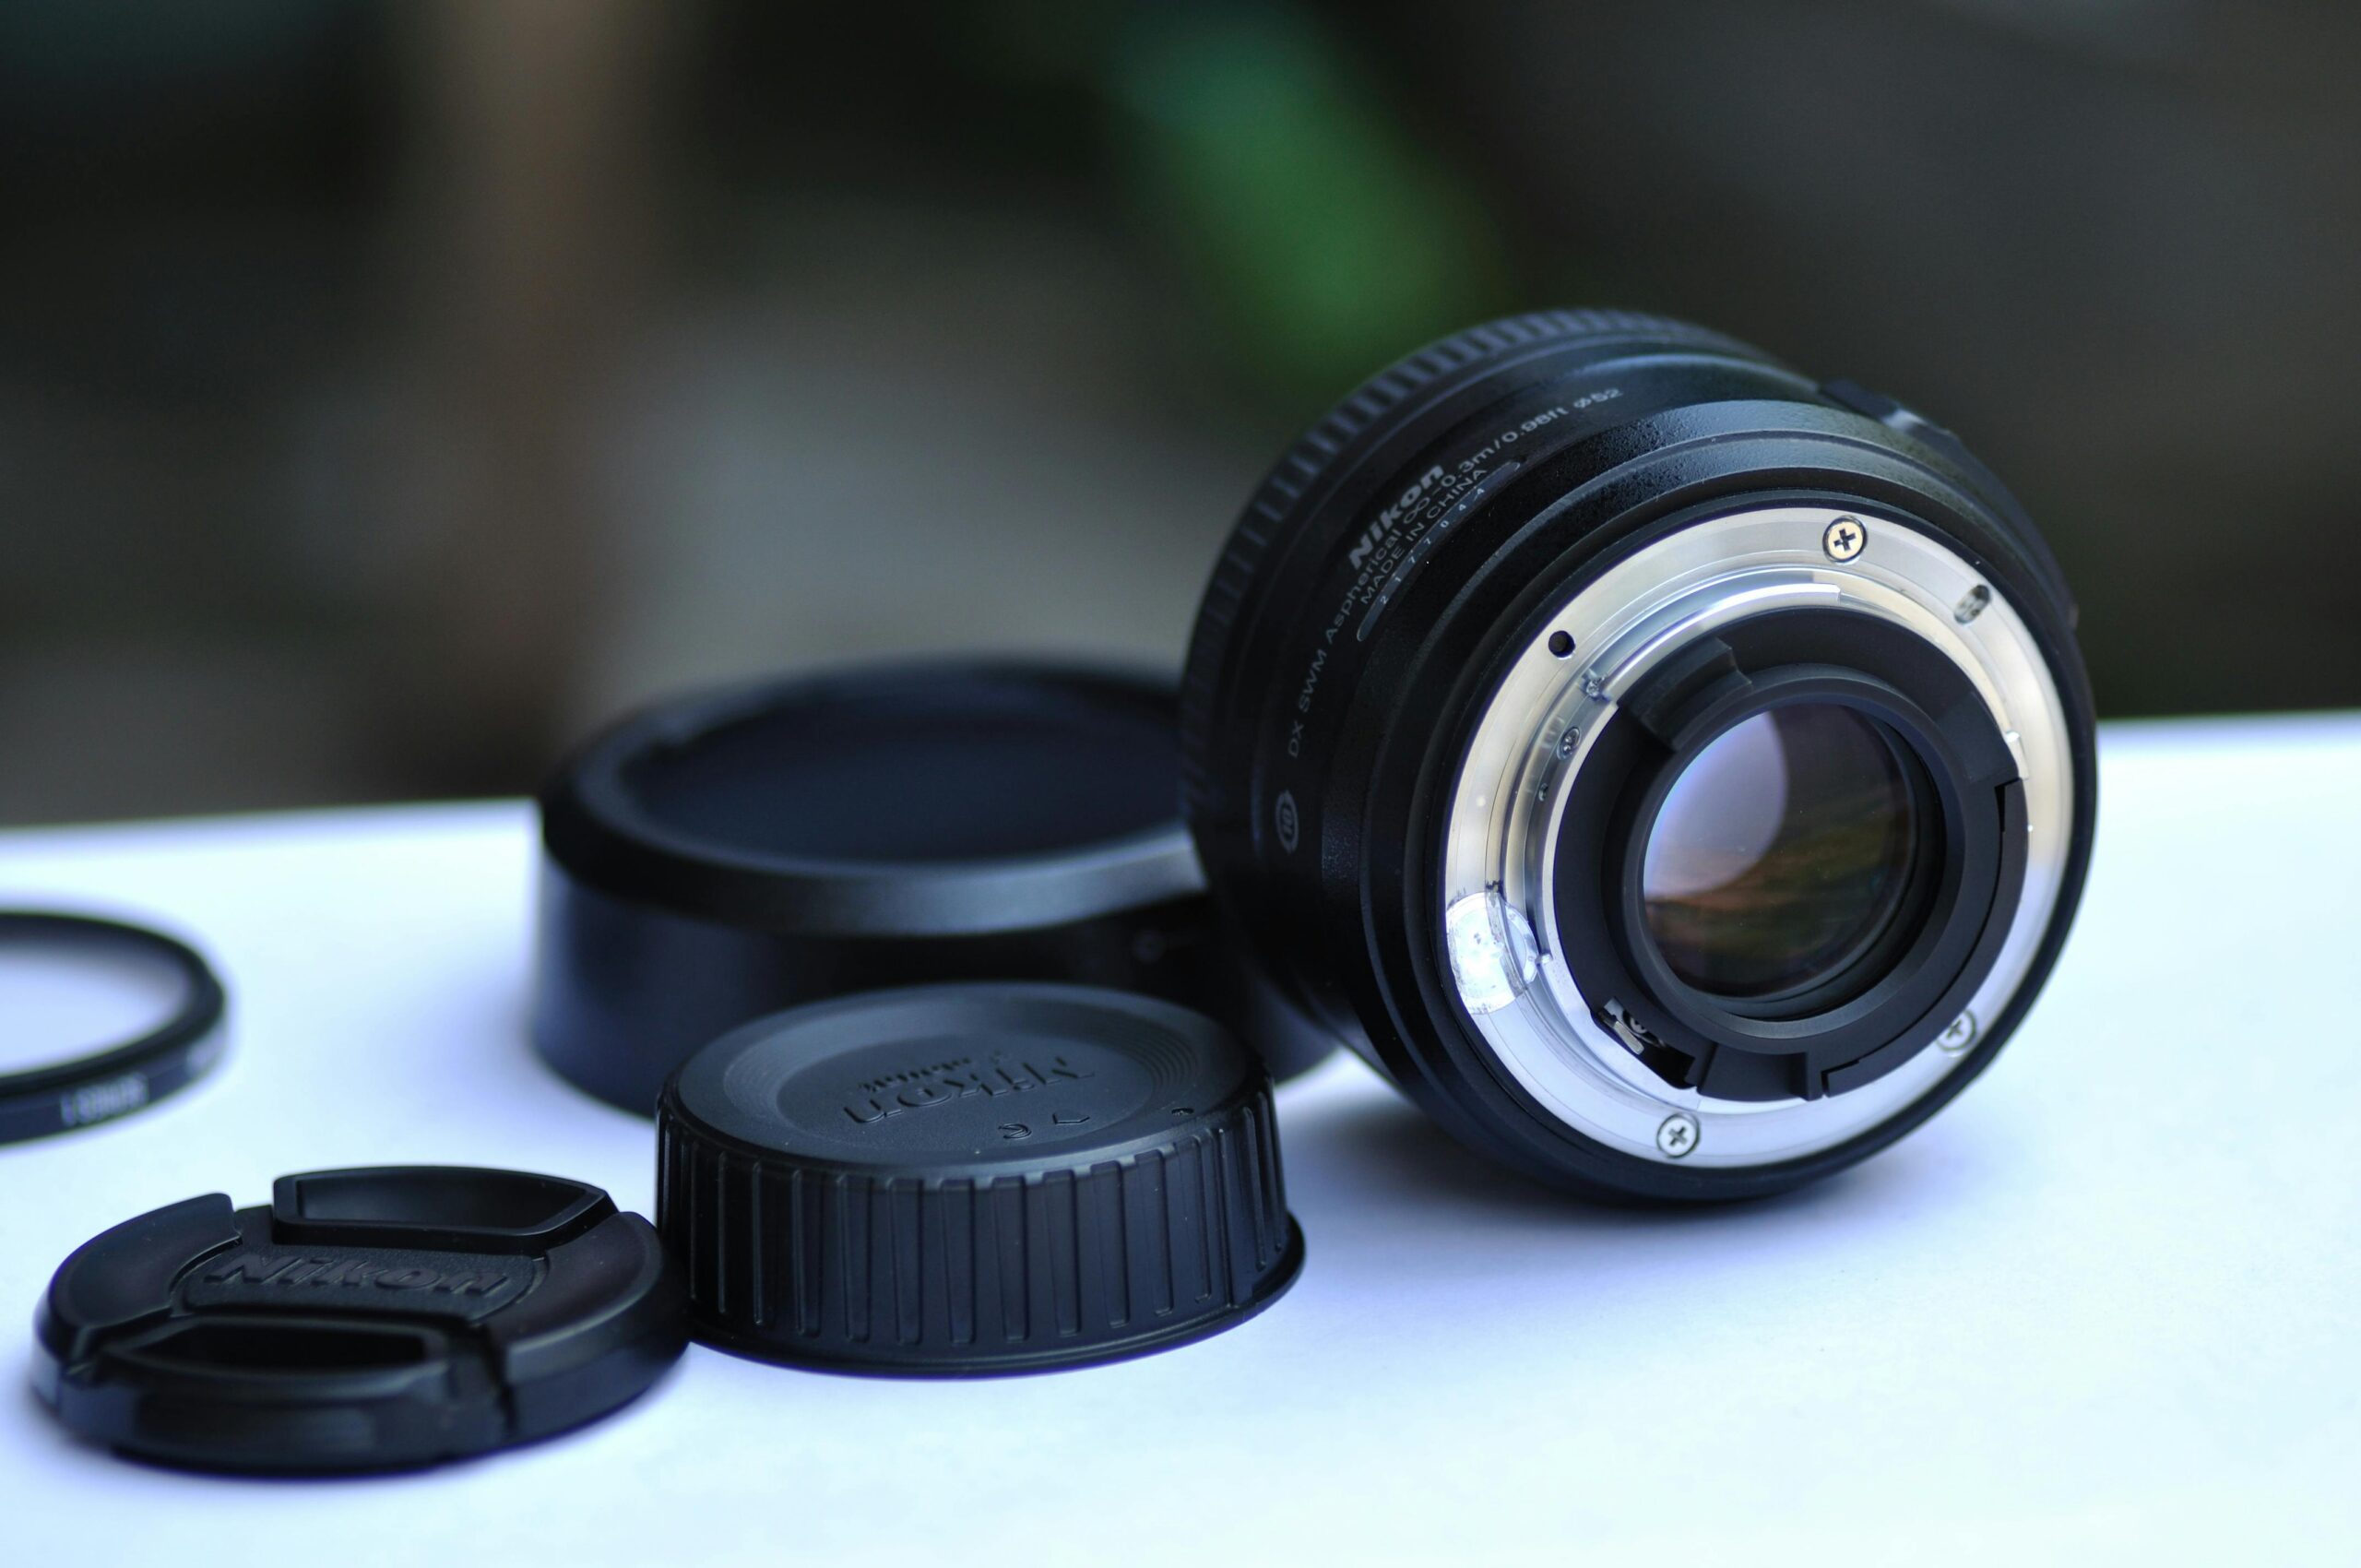
- DSLR (Canon EOS R100, Nikon D5600)
- Mirrorless (Sony Alpha, Fujifilm X series)
- Smartphone (iPhone 15 Pro, Samsung Galaxy S25 Ultra)
- Stabilization Tools:
- Tripods for steady shots
- Gimbals or stabilizers for videos
- Lighting Tools:
- Softboxes and LED panels
- Light diffusers and reflectors
- Background Gear:
- Sweep stands for seamless backgrounds
- Light tents for small objects
Semantic Keywords: product photography gear, studio lighting, affordable product photography setup
Best Lighting for Product Photography
Lighting makes or breaks your photos. Here’s how to get it right:
- Natural vs. Artificial:
- Natural light is free and soft but inconsistent
- Artificial light (LED panels, ring lights) gives full control
- Three-Point Lighting Setup:
- Key light, fill light, and back light to create depth
- Ring Lights:
- Great for small products and flat lays
- Color Temperature:
- Stick to 5000K (daylight) for consistency
- Avoiding Harsh Shadows:
- Use diffusers or bounce light off walls
Backdrop and Surface Essentials
A clean background ensures your product is the hero of the shot.
- Popular Choices:
- White for clean, catalog-like looks
- Black for dramatic effects
- Textured backdrops (wood, marble, linen) for lifestyle shots
- DIY Tips:
- Use foam boards, wrapping paper, or a large sheet of white paper
- Flat Lay Ideas:
- Use neutral or branded surfaces
- Keep the scene minimal to avoid clutter
Setting Up the Perfect Composition
Composition helps guide the viewer’s eye. Here’s how to nail it:
- Positioning: Place the product front and center
- Angles: Shoot from multiple angles (front, side, close-up)
- Rule of Thirds: Use the grid to align key parts of the product
- Props: Use sparingly to enhance context
- Guides: Use guides in your camera or editing software for alignment
Shooting Techniques for Different Product Types
Different products need different approaches:
- Jewelry: Use macro lenses and white backgrounds
- Clothing: Use mannequins or flat lays
- Food: Add natural props and soft lighting
- Electronics: Reflective surfaces need extra care with lighting
- 360° Photography: Use rotating platforms for full view
Smartphone Product Photography in 2025
Smartphones today have pro-level camera features:
- High Megapixels + AI Enhancements
- Best Apps:
- Adobe Lightroom Mobile
- ProCamera
- Snapseed
- Smartphone Accessories:
- Clip-on lenses
- Tripod mounts
- Example: Many brands on Instagram use iPhone-only setups
Editing and Post-Processing
Editing is where your photo goes from good to great:
- Basic Edits: Adjust brightness, contrast, sharpness
- Retouching Tools:
- Adobe Photoshop
- Lightroom
- Canva Pro
- Pixelcut (AI-powered)
- Batch Processing: Speeds up editing for multiple images
- Presets & Filters: Use consistent styles for branding
Real-Life Examples: Before & After Product Shots
| Type | Raw Photo | Edited Photo | Web Optimized |
|---|---|---|---|
| Skincare | Dull light | Enhanced tones | Resized, WebP |
| Jewelry | Dust spots | Cleaned and color-corrected | 1080px width |
| Beverage Can | Flat angle | Tilted angle, bright background | 100kb compressed |
Tip: Always optimize for speed without losing quality.
How Much Money Should You Spend on Your Setup?
The amount of money you should spend on your photography setup depends on your skill level, goals, and the type of work you plan to do. If you’re a beginner or hobbyist, you can start with a basic setup for as little as $100 to $500 using your smartphone, a simple tripod, a ring light or soft LED light, and a small lightbox for product shots.
This is more than enough for learning the basics or creating simple social media content. For intermediate users or freelancers, investing $500 to $2,000 can significantly improve quality. This level typically includes a mirrorless or DSLR camera, a couple of good lenses (like a 50mm or macro lens), softbox lighting kits, sturdy tripods, backdrops, and professional editing software like Adobe Lightroom or Photoshop.
If you’re starting a serious product photography business or working with high-end clients, you may need to invest $2,000 to $10,000 or more. A pro-level setup includes a full-frame camera, multiple lenses, studio strobes, light modifiers, backdrops, and possibly a dedicated studio space.
Mistakes to Avoid in Product Photography
- Poor or uneven lighting
- Distracting backgrounds
- Over-editing (too much saturation or blur)
- Low-resolution images (pixelation on zoom)
Where to Use Your Product Photos
- E-commerce Platforms:
- Amazon, Etsy, Lazada, Shopee, Shopify
- Social Media:
- Instagram, Pinterest, Facebook Shops
- Marketing Materials:
- Flyers, email campaigns, packaging
- Collaborations:
- Partner with influencers or affiliate marketers
Learn basic photo editing techniques
Here’s a beginner-friendly guide to help you learn basic photo editing techniques, whether you’re using free tools like Canva, Pixlr, Snapseed, or more advanced programs like Adobe Photoshop.
1. Cropping and Straightening
- Purpose: Remove unwanted edges or adjust composition.
- How-To: Use the Crop tool to resize and frame your subject. Use Rotate or Straighten tools if the photo is tilted.
2. Adjusting Brightness and Contrast
- Purpose: Make the image more vibrant or dramatic.
- How-To: Increase brightness to lighten dark areas; adjust contrast to make shadows deeper and highlights brighter.
3. Color Correction
- Tools: Adjust Saturation, Temperature (Warm/Cool), and Tint.
- Goal: Make colors look more natural or creative.
4. Sharpening
- Purpose: Make your image appear clearer.
- Tip: Don’t overdo it — too much sharpening can cause graininess or halos.
5. Removing Blemishes or Unwanted Objects
- Tools: Healing Brush, Clone Stamp, or Spot Removal.
- Use: Clean up skin blemishes, dust spots, or distracting background items.
6. Adding Filters or Presets
- Filters: Pre-made adjustments that change the mood or tone.
- Popular Apps: Instagram, VSCO, Lightroom have free filters.
7. Resizing for Web or Social Media
- Use the Resize tool to fit platform dimensions (e.g., 1080×1080 for Instagram).
- Helps with loading speed and consistent branding.
8. Adding Text or Graphics
- Tools like Canva or Photoshop allow you to add text overlays, watermarks, or icons.
- Use readable fonts and contrast with the background.
9. Saving in the Right Format
- JPG: Best for photos (smaller file size).
- PNG: Best for graphics or images needing transparency.
- TIFF/RAW: Keep highest quality, but bigger file size.
Recommended Free Tools for Beginners:
- Canva: User-friendly, great for text and social media graphics.
- Pixlr: Free Photoshop-like tool online.
- Snapseed: Powerful mobile editor by Google.
- Fotor or Adobe Express: Good for quick, AI-assisted edits.
Final Tips for Crafting the Perfect Product Photography Setup
- Essentials Checklist:
- Camera or smartphone
- Tripod
- Lighting kit
- White/neutral backdrop
- Editing software
- Update Setup: Review tools every 6–12 months
- Stay On Brand: Use a consistent visual style
- DIY vs. Outsourcing:
- DIY is cost-effective and flexible
- Outsource for faster, polished results
Conclusion
Creating a great product photography setup in 2025 is easier than ever. With the right tools, lighting, and creativity, you can produce stunning visuals that attract buyers and build brand credibility.
FAQs
What camera is best for product photography in 2025?
Mirrorless cameras like the Sony Alpha or smartphones like the iPhone 15 Pro work great.
How do I take professional product photos at home?
Use good lighting, a clean background, a tripod, and basic editing tools.
Do I need a white background for every product?
Not always. White is clean and neutral, but lifestyle backgrounds can add context.
Can I use my phone for product photography?
Yes! Many phones today produce results close to professional cameras.
What’s the best lighting setup for shiny or reflective items?
Use diffused lighting and shoot from angles that reduce glare.
Do product photographers make money?
Yes, product photographers can definitely make money — and many do very well, especially if they specialize, build a strong portfolio, and market themselves effectively.
Do I need an expensive camera for clear images?
No, you don’t need an expensive camera to capture clear images — especially when starting out. Clear, sharp photos depend more on lighting, focus, and technique than just the price of your camera.
Disclaimer
This content is for informational purposes only. Tools and technologies mentioned may vary based on personal needs, product type, or location. Always test and research before making purchasing decisions.